Tips for How to Stop a Dripping Faucet
 Previously, we’ve talked to you wonderful Floridians about how to stop a dripping faucet. If you need a refresher, head over to the article and take a look! Fixing a faucet is actually pretty easy if you have the tools, a good head on your shoulders, and some elbow grease. Sometimes, you may need a plumber to take a look, especially if you don’t feel comfortable with the work. However, often you can save time and money by taking a crack at it yourself. Don’t let your faucet stay leaky! Learn how to stop a dripping faucet and avoid those high water bills and that annoying drip-drip-drip.
1. Turn Off the Water
 This may sound obvious, but you’d be surprised. “Out of sight, out of mind” comes into play when you’re focused on working on what’s in front of you, especially a sink. Don’t get so focused on getting to the task at hand that you forget to shut off the water! Usually, the sink’s water supply can be turned off beneath the sink. If that doesn’t work, you may be stuck turning off the water to the whole house for a short period of time. Whatever you do, don’t think that you don’t need to do this crucial step. After you turn off the water, turn the handle on the sink to relieve whatever water pressure is left. The water flow will diminish, and you won’t have to worry about accidentally getting water all over the bathroom or kitchen floor.
2. Cover the Drain
Have you ever had the horrible experience of dropping a ring or a hair clip or another small object down your sink drain? Trust me, it’s ten times worse when you drop a tool, nut, or bolt while you’re fixing the sink and it slides right down the drain. Then you have a whole other problem on your hands! But how do you keep this from happening? Simple. Put a thin rag over the drain. Or, if you have one, put one of the small drain nets in the sink. Either will scoop up any stray items that slip from your hands. You’ll be saved a world of trouble with just a simple step!
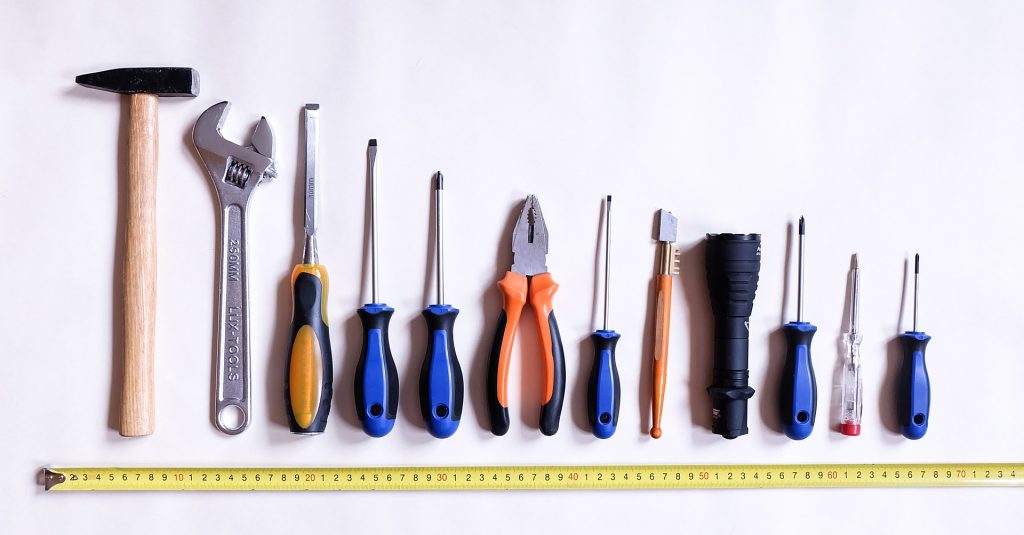
3. Wrap Your Wrench
 The one thing that most people won’t think about until it’s too late: chrome scratches. Most fixtures in a bathroom that are faucet-related are shiny. And everyone wants to keep it that way. So what’s the trick to using needle nose pliers, wrenches, and other tools without putting gross, deep gouges in your faucet handle? Like covering the drain, it’s easy. You should wrap the part of tool that will be touching the fixture. The best thing to wrap it with is duct tape, in our experience. Don’t wrap it too thick, but make sure that you have a nice layer between the metal tool and your shiny fixture. You’ll definitely be happier following this tip than if you skip it!
4. Find Your Faucet
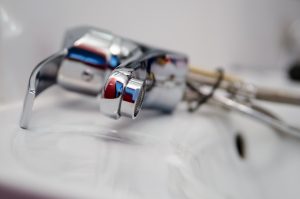
 You’ve probably noticed, but there aren’t just one or two types of faucets. When you’re learning how to stop a dripping faucet, it matters what kind of faucet is dripping. There are four main types of faucets: the compression faucet, cartridge faucet, ceramic disk faucet, and ball type faucet. Compression faucets have rubber washers that seal up the valve seat, and these wear out easily. These are pretty cheap and easy to fix. The other types are technically called “washerless” faucets, and you won’t have to replace their parts or the whole faucet as frequently as compression faucets. These “washerless” faucets still leak, though. You will probably need to replace the o ring or the whole faucet if these leak (but this is not an expensive procedure at all!) Need help identifying your sink? Check this faucet guide out.
5. Keep Things in Order
 If you’ve never had to dissect your faucet, then you might get a little turned around. Once you’ve replaced the bad part, you don’t want to get stuck. Putting everything back in the right place is very important, so a little organization goes a long way. The best way to make sure that everything is going pack in the right way is quick and painless. Just lay out a rag next to where you are working. As you remove each item, place it down in the order it’s taken out. Then, when you go to put everything together again, you can just work backwards! In addition, if you want to take a video of what you’re doing, it can be helpful if you forget how everything is supposed to be put together. That way you can work backwards from the video to ensure you’re doing what’s right for your sink.
Good Luck, Brevard!
Picking your dripping faucet apart and putting it back together is easier than it sounds. When you’re learning how to stop a dripping faucet, these five tips and tricks will be very helpful in your journey. It’s scary to do something like this for the first time (or even the second or third!) so don’t worry. You’ll do fine if you follow these tips and use our other guide that details the steps of fixing the faucet. If you try your hand at fixing your faucet and you’re still having problems, you may want to call a professional. A good plumbing expert, like Anchor Plumbing, will help you in a jiffy! Good luck and happy fixing, Brevard County!
No Comments